Route
Junction number
None
Markerpost
Unknown
Name
Lodge Avenue Flyover
Terminus
Not a terminus
Other routes
A123, A1153
Authority
Restricted turns
Full access
Services
No services
None
Unknown
Lodge Avenue Flyover
Not a terminus
A123, A1153
Full access
No services
|
Barking A123 Becontree A1153 |

|
A123 A1153 |
Barking A123 Becontree A1153 |


It was the UK's only single-carriageway motorway, and twenty years ago it ceased to exist. This is the story of the strange fascination it held, and of my place in history.
The second part of the story, where we learn why exactly the M4 gets narrower on the final approach to Europe’s biggest city.
The M4 into London was one of the UK's earliest and most ambitious motorway projects. It was bold, pioneering... and almost instantly regretted.
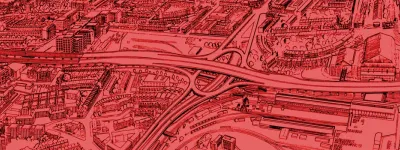
Desperately-needed but never built, this was one of the only London urban motorway plans that were ever progressed to the construction stage.
Published
Last updated